Create public buckets on R2
Overview
Public Bucket is a feature that allows users to expose the contents of their R2 buckets directly to the Internet. By default, buckets are never publicly accessible and will always require explicit user permission to enable.
Public buckets can be set up in either one of two ways:
- The first exposes your bucket as a custom domain under your control.
- The second exposes your bucket as a Cloudflare-managed subdomain under
https://r2.dev.
To configure firewall rules, caching, access controls, or bot management for your bucket, you must do so through a custom domain.
Using a custom domain does not require enabling r2.dev.
Custom domains
Caching
Domain access through a custom domain allows you to use Cloudflare Cache to accelerate access to your R2 bucket.
Access control
To restrict access to your custom domain’s bucket, use Cloudflare’s existing security products:
- Cloudflare Zero Trust Access: Protect buckets that should only be accessible by your teammates.
- Cloudflare WAF Token Authentication: Restrict access to documents, files, and media to selected users by providing them with an access token.
Custom domains configuration
Connect your bucket to a custom domain
To connect a custom domain to your bucket:
- Go to R2 and select your bucket.
- Go to Settings.
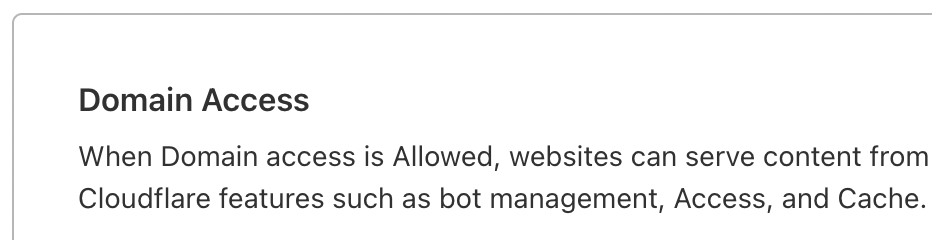
- Go to Domain Access.
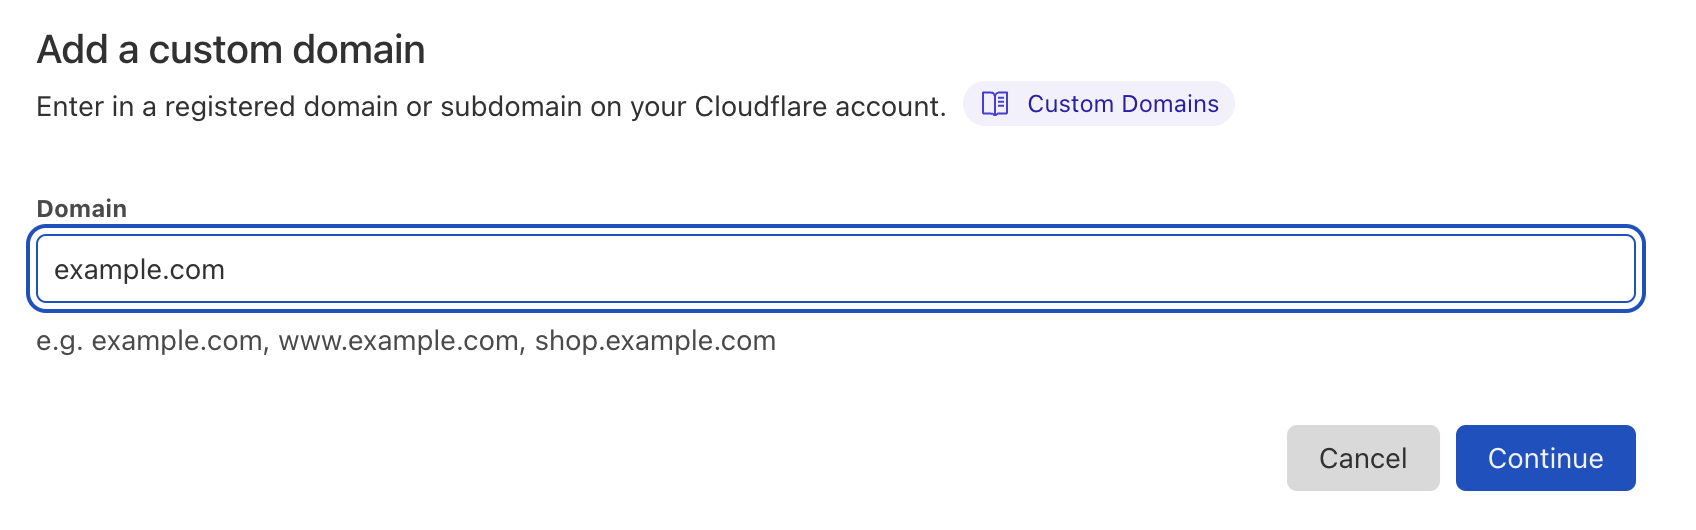
- Select Connect Domain.

- Enter the domain name you want to connect to and select Continue.
- Review the new record that will be added to the DNS table and select Connect Domain.
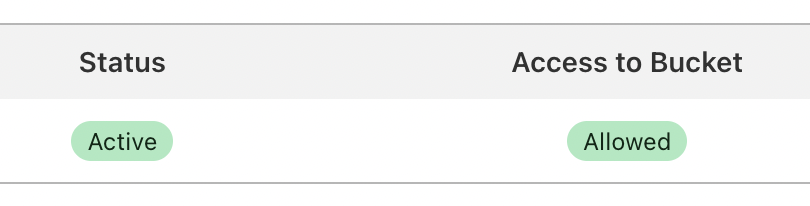
Your domain is now connected. It takes a few minutes for the status to change from Initializing to Active. Refresh to review the status update. If the status has not changed, select the … next to your bucket and select Retry connection.
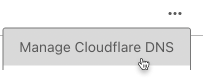
To view the added DNS record, select … next to the connected domain and select Manage DNS.
Disable domain access
Disabling a domain will turn off public access to your bucket through that domain. Access through other domains or the managed r2.dev subdomain are unaffected.
The specified domain will also remain connected to R2 until you remove it or delete the bucket.
To disable a domain:
- In R2, select the bucket for which you want to disable custom domain access.
- Go to Settings.
- Scroll down to Domain Access.
- Next to the domain you want to disable, select … and select Disable domain.
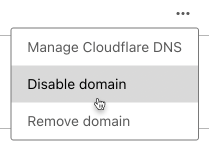
- The badge under Access to Bucket will update to Not allowed.

Remove domain
Removing a domain will remove custom domain configuration that you have set up on the dashboard. Your bucket will still be publicly accessible.
To remove a domain:
- In R2, select the bucket for which you want to remove domain access.
- Go to Settings.
- Scroll down to Domain Access.
- Select … next to the domain to disable and select Remove domain.
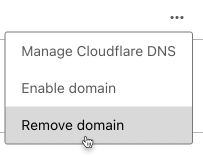
- Select ‘Remove domain’ in the confirmation window. The CNAME record pointing to the domain will also be removed as part of this step. You can always add the domain again.
The domain is no longer connected to your bucket and will no longer appear in the connected domains list.
Managed public buckets through r2.dev
Enable managed public access for your bucket
Enabling managed public access for your bucket will make the content of your bucket available to the Internet through a Cloudflare-managed r2.dev subdomain.
To enable access through r2.dev for your buckets:
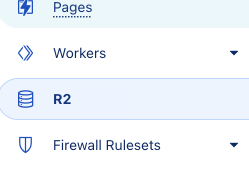
- Log in to the Cloudflare dashboard > select your account > R2.
- In. R2, select the bucket you want to enable public access for.

- Go to Settings.

- In Settings, go to Bucket Access.
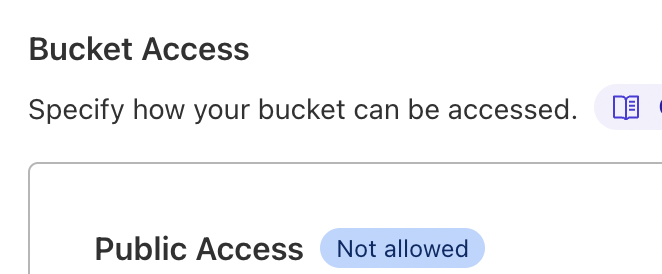
- Under Bucket Access, select Allow Access.
- You will be prompted to confirm your choice. In the confirmation dialog, type ‘allow’ to confirm and select Allow.
- You can now access the bucket and its objects using the Public Bucket URL.

You can review if your bucket is publicly accessible by going to your bucket and checking that Public URL Access states Allowed.
Disable managed public access for your bucket
Your bucket will not be exposed to the Internet as an r2.dev subdomain after you disable public access. If you have connected other domains, the bucket will remain accessible on those domains.
To disable public access for your bucket:
- In R2, select the bucket for which you want to turn off public access.
- Go to Settings.
- Scroll down to Public Access.
- Select Disallow Access.

- In the confirmation dialog, type ‘disallow’ to confirm and select Disallow.
Your bucket and its objects can no longer be accessed using the Public Bucket URL.
Configure CORS for your bucket
Currently, you have to use the S3 API PutBucketCors to configure CORS for your bucket.