PhishNet for Google Workspace
PhishNet is an add-in button that helps users to submit directly to Area 1 phish samples missed by Area 1’s detection. PhishNet avoids the previous process, where users had to report phish to their email admins, which then had to manually download and forward the sample to Area 1.
Prerequisites
To set up PhishNet with Google Workspace you need admin access to your Google Workspace account.
Set up PhishNet for Google Workspace
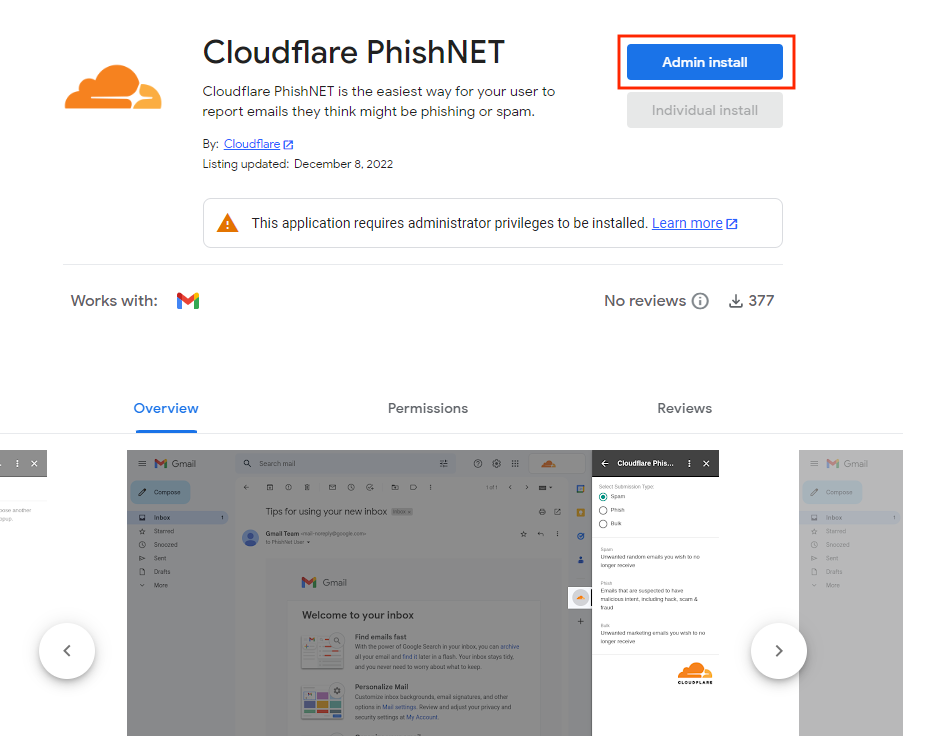
Log in to Google Workspace Marketplace apps using this direct link and an administrator account.
Select Admin install to install Cloudflare PhishNet. Read the warning, and select Continue.
In the window that opens, choose between installing Cloudflare PhishNet for Everyone at your organization or Certain groups or organizational units. If you choose this last option, you will also have to select which users you want to install PhishNet to.
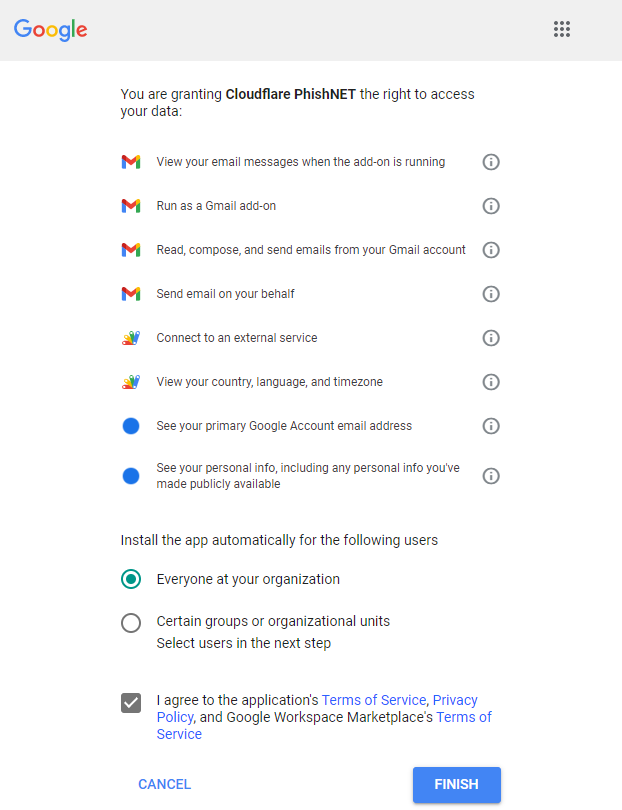
After choosing the groups you want to install PhishNet for, agree with Google’s terms of service, and select Finish.
Google Workspace will inform you that Cloudflare PhishNet has been installed. Select Done to continue.
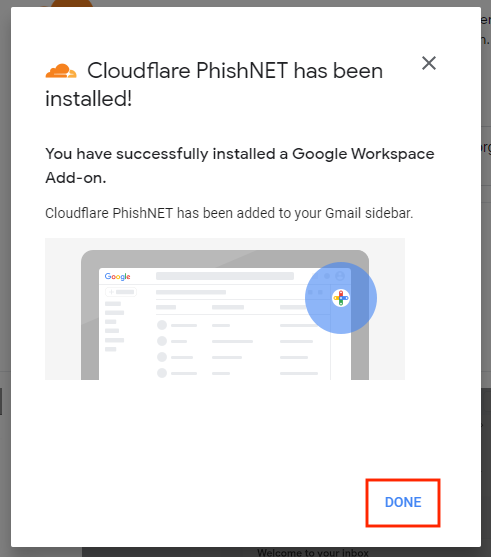
Cloudflare PhishNet is now installed.
Submit phish with PhishNet
In your Gmail web client, open the message you would like to flag as either spam or phish.
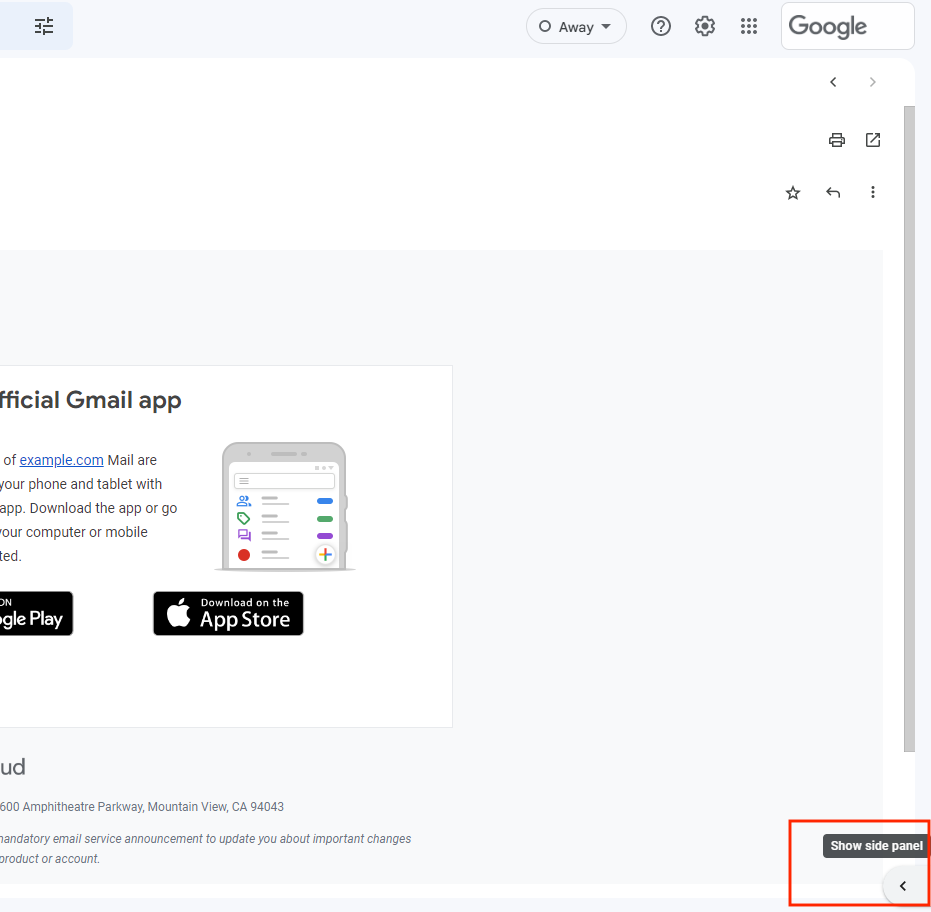
(Optional) Open Gmail’s side panel if it is not already opened.
Select the PhishNet logo.
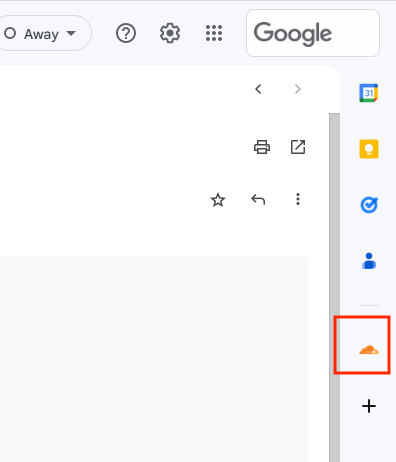
Under Select Submission Type, select the type of your submission — Spam or Phish.
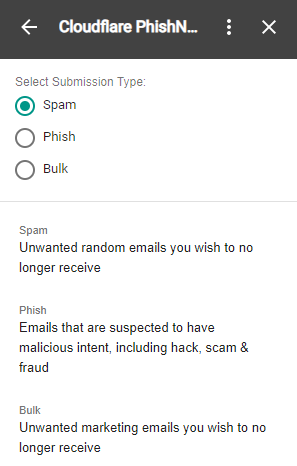
Select Submit Report.
PhishNet will show you a Submission Complete message once the email has been successfully submitted to Cloudflare Area 1 for review.