Configure block page
Gateway responds to any blocked domain with 0.0.0.0, and does not return that blocked domain’s IP address. As a result, the browser will show a default error page, and users will not be able to reach that website. This may cause confusion and lead some users to think that their Internet is not working.
Configuring a custom block page in Zero Trust helps avoid this confusion. Your block page will display information such as the rule ID of the policy blocking the website, a policy-specific block message, your organization’s name, and a global message you may want to show — for example, a message explaining that the website has been blocked by Gateway and providing any points of contact for support within the organization.
Prerequisites
In order to display the block page as the URL of the blocked domain, your devices must have the Cloudflare certificate installed. Enterprise users can also deploy their own root CA certificate.
Enable the block page for HTTP policies
Gateway automatically enables a block page for all HTTP policies. When a user is blocked at the HTTP layer, the block page is displayed.
To specify a policy-specific block message:
- In Zero Trust, go to Firewall Policies > HTTP.
- Find the policy you want to customize and select Edit. You can only edit the block page for policies with a Block action.
- Scroll down to the Configure policy settings step.
- In the Block page customised text field, enter a custom block message.
- Select Save policy.
Users will now see a custom message when they are blocked by this HTTP policy.
Enable the block page for DNS policies
For DNS policies, you will need to enable the block page on a per-policy basis.
- In Zero Trust, go to Firewall Policies > DNS.
- Find the policy for which you would like to display a block page and select Edit. You can only enable the block page for policies with a Block action.
- Scroll down to the Configure policy settings step.
- Enable Display block page.
- Select Save policy.
Users will now see a block page when they are blocked by this DNS policy.
Troubleshoot the block page
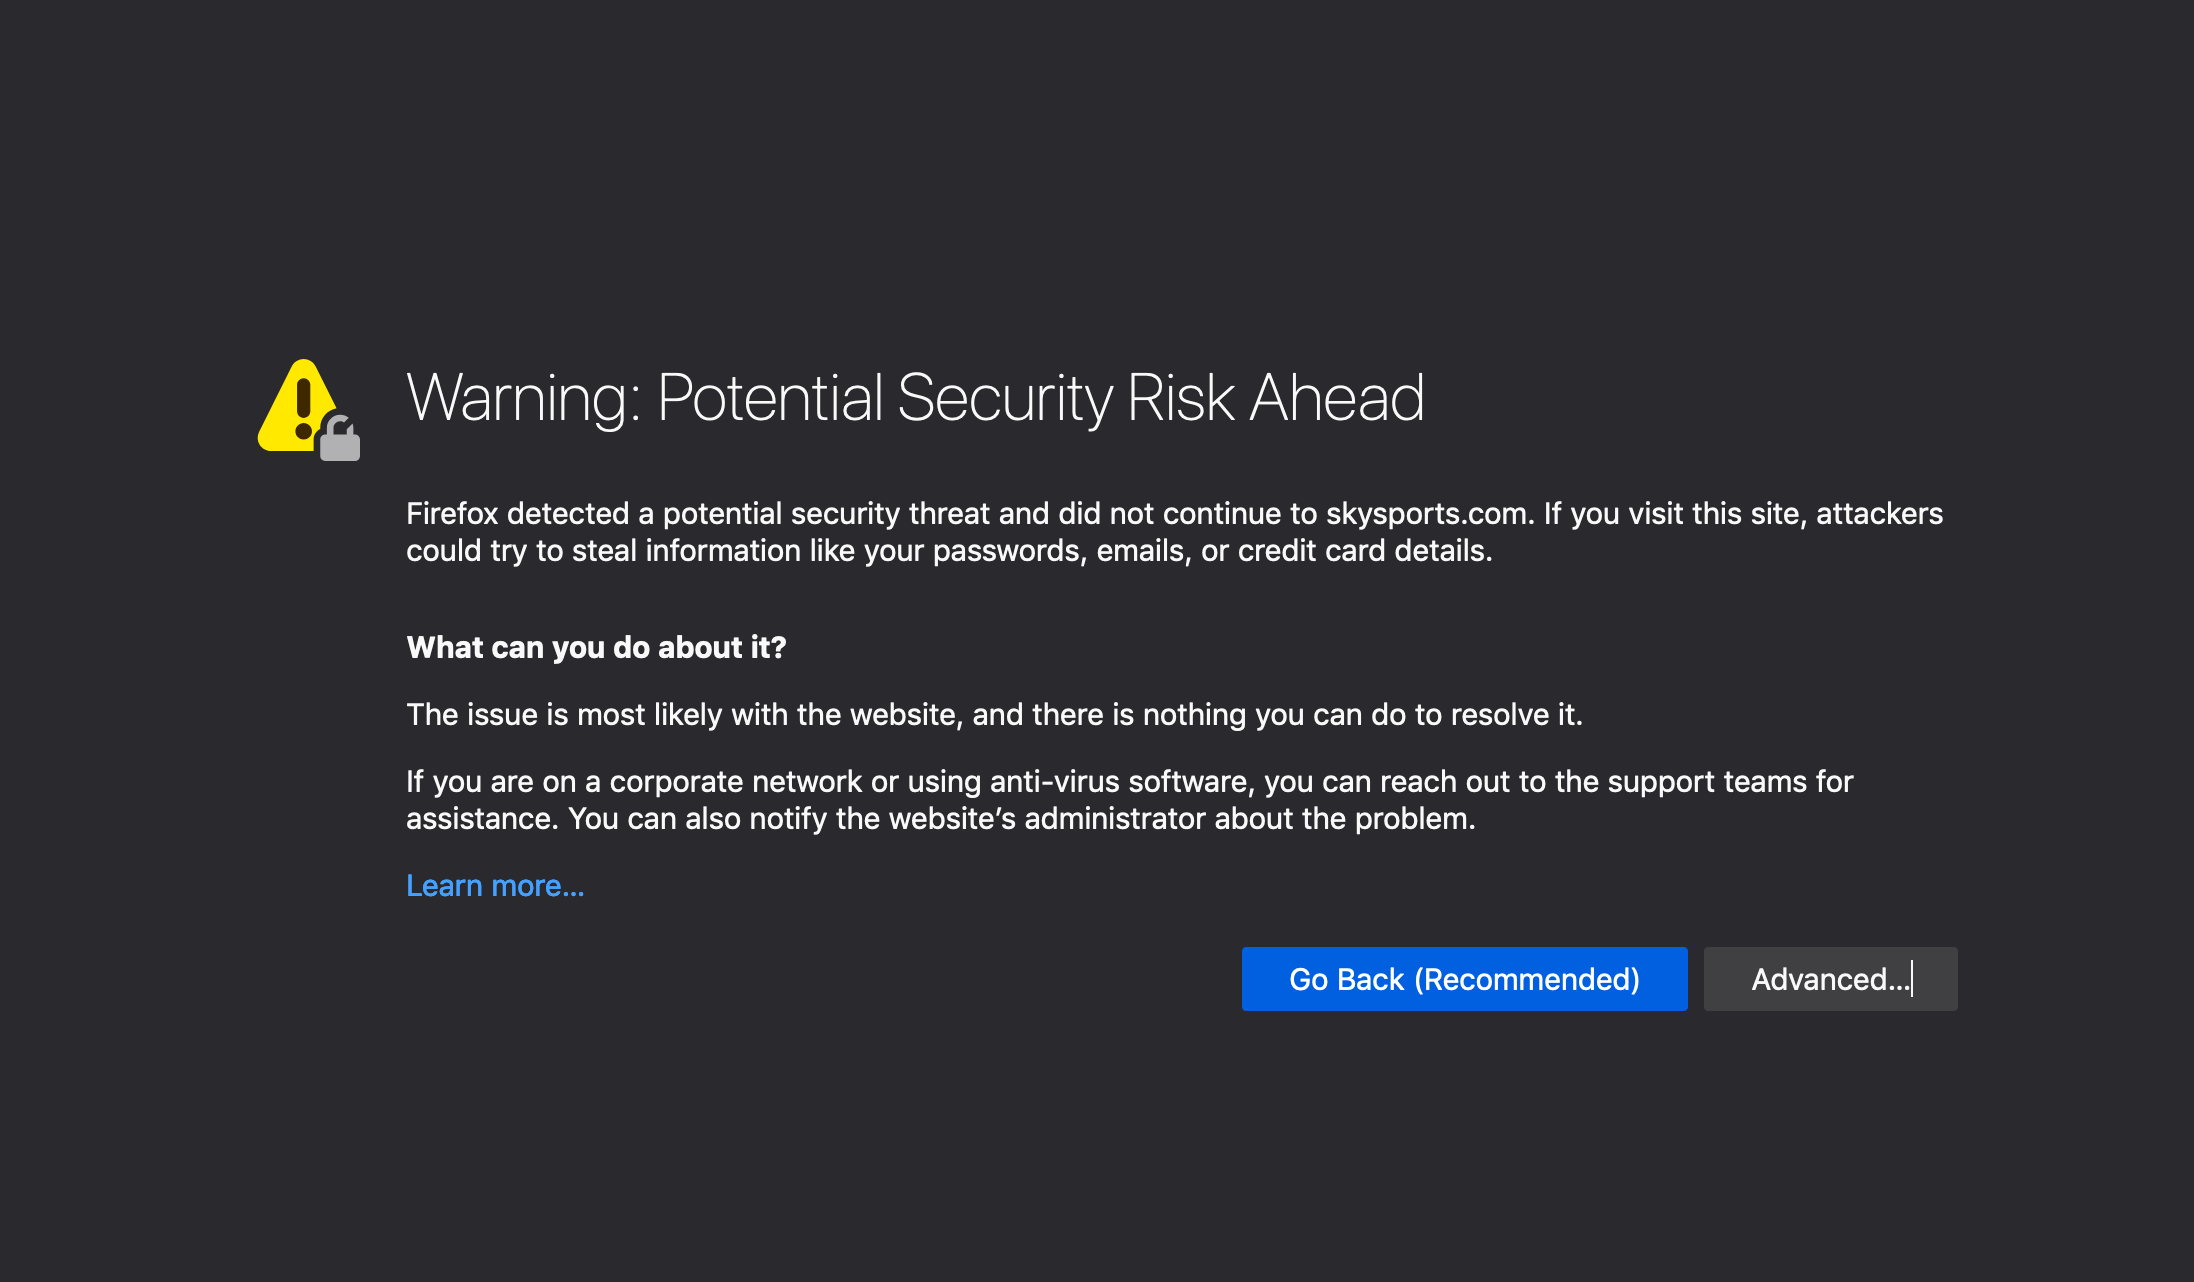
If your users see a “Warning: Potential Security Risk Ahead” message in their browser when visiting a blocked page, check that you have correctly installed the Cloudflare certificate on their device.

Customize the block page
You can customize the block page by making global changes that will show up every time a user visits a block page, independently of the type of rule (DNS or HTTP) that is blocking the website.
To apply customizations to your block page:
In Zero Trust, go to Settings > General.
Under Block page, enable the custom block page feature.
Select Customize. Available global customizations include:
- Adding your organization’s name
- Adding a logo
- Adding a header text
- Adding a global block message, which will be displayed above the policy-specific block message
- Adding a Mailto link
- Choosing a background color
Select Save. Your customers will now see your custom block page when navigating to a blocked website.
Allow users to email an administrator
You can add a Mailto link to your custom block page, which allows users to directly email you about the blocked site. When users select Contact your Administrator on your block page, an email template opens with the email address and subject line you configure, as well as the following diagnostic information:
| Field | Description |
|---|---|
| Site URL | The URL of the blocked page. |
| Rule ID | The ID of the Gateway policy that blocked the page. |
| Source IP | The public source IP of the user device. |
| Account ID | The Cloudflare account associated with the block policy. |
| User ID | The ID of the user who visited the page. Currently, User IDs are not surfaced in the dashboard and can only be viewed by calling the API. |
| Device ID | The ID of the device that visited the page. This is generated by the WARP client. |
| Block Reason | Your policy-specific block message. |