Centrify
Centrify secures access to infrastructure, DevOps, cloud, and other modern enterprise so you can prevent the number one cause of breaches: privileged access abuse.
Set up Centrify
These steps help you set up Centrify as your identity provider:
Log in to the Centrify administrator panel.
Click Apps.
Click Add Web Apps.
Select the Custom tab and click Add OpenID Connect.
On the Add Web App screen click Yes to create an OpenID Connect application.
Enter an Application ID.
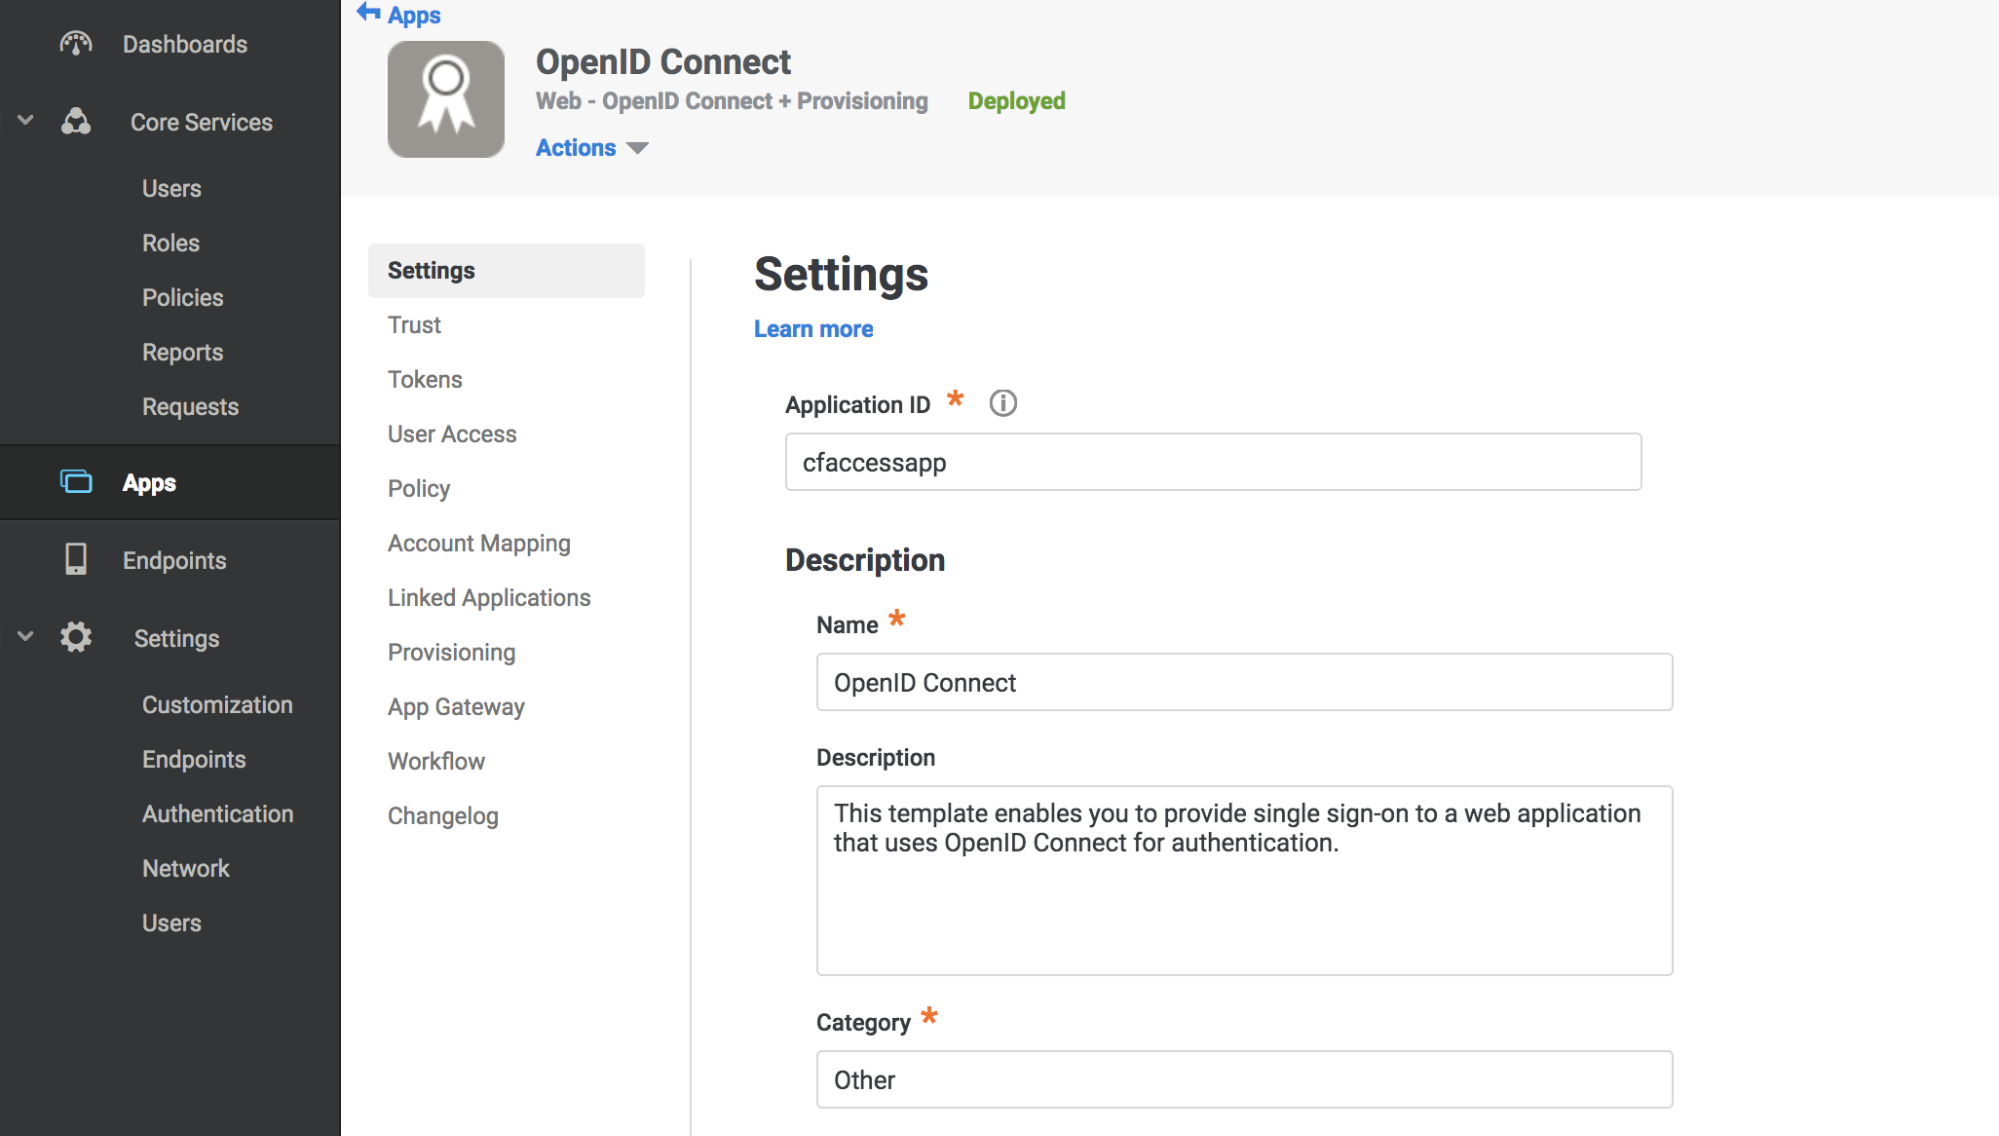
Click Save.
Click Trust in the Settings menu.
Enter a strong application secret on the Trust section.
Under Service Provider Configuration enter your application’s authentication domain as the resource application URL.
Under Authorized Redirect URIs click Add.
Under Authorized Redirect URIs enter your team domain followed by this callback at the end of the path:
/cdn-cgi/access/callback. For example:https://<your-team-name>.cloudflareaccess.com/cdn-cgi/access/callback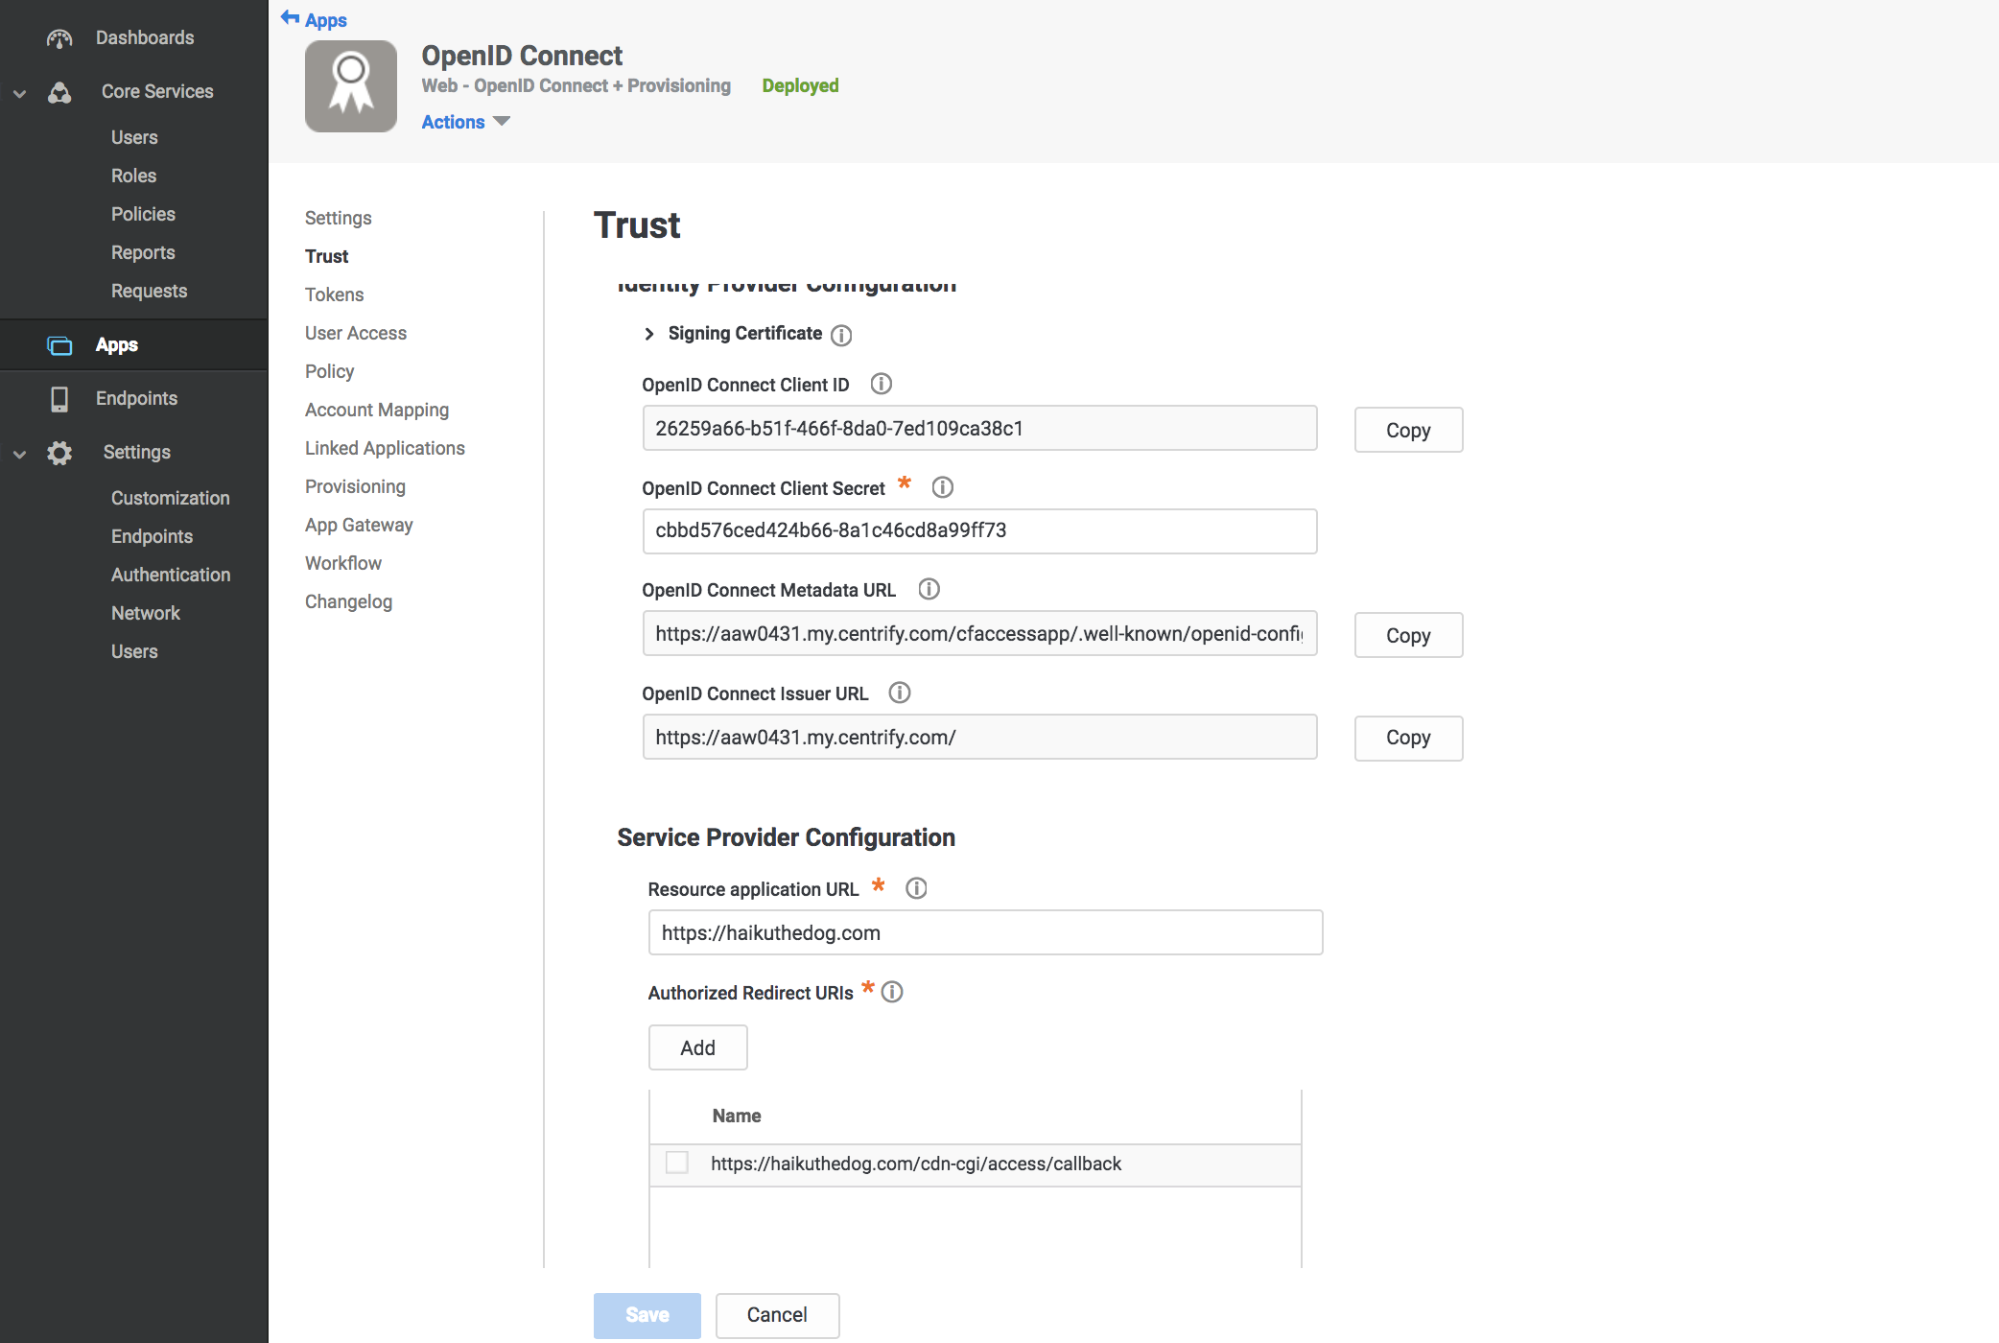
Click Save.
Take note of the Client ID, Client Secret, OpenID Connect Issuer URL, and Application ID from the Settings tab.
Navigate to the User Access tab.
Select the roles to grant access to your application.
In Zero Trust, navigate to Settings > Authentication.
Under Login methods, click Add new.
Paste in the Client ID, Client Secret, Centrify account URL and Application ID.
Click Save.
To test that your connection is working, navigate to Authentication > Login methods and click Test next to the login method you want to test.
Example API Config
{  "config": {    "client_id": "<your client id>",    "client_secret": "<your client secret>",    "centrify_account": "https://abc123.my.centrify.com/",    "centrify_app_id": "exampleapp"  },  "type": "centrify",  "name": "my example idp"
}